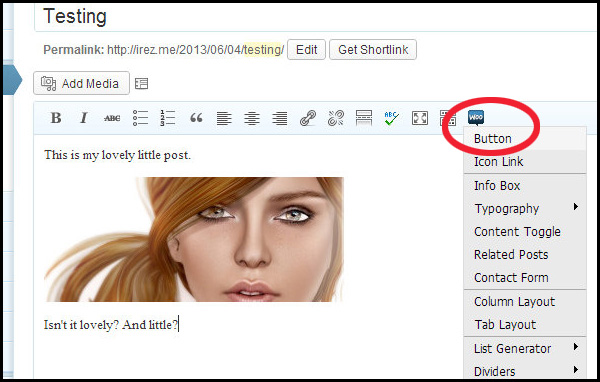
Making a button is easy! Just click the little Woo menu and say “Button” as shown above.
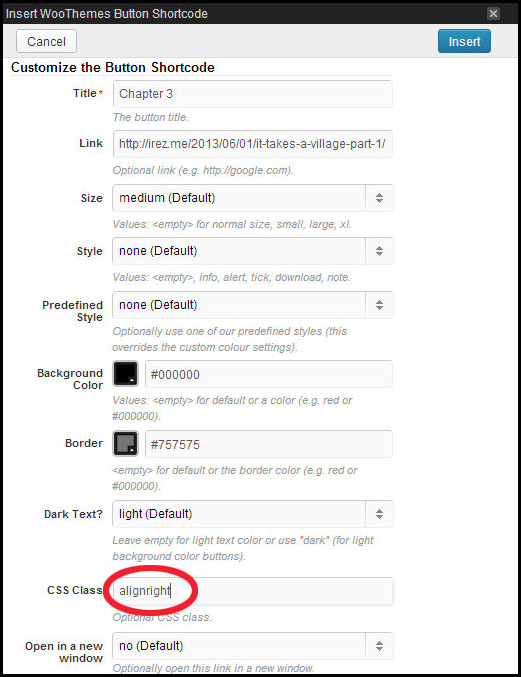
Then, as shown below, fill in the various choices: what you want it to say, the URL you want it to link to, and so on. For a normal button that’s to the left, you can just leave the “CSS CLASS” box empty, but let’s say, for example, that you’re Lizzie writing a story, and this post is “Chapter 2” and you’d like to have a “Chapter 1” button that’s Top-Left and a “Chapter 3” button that’s Bottom-Right. For the bottom-right button you can just type “alignright” in the CSS Class box.
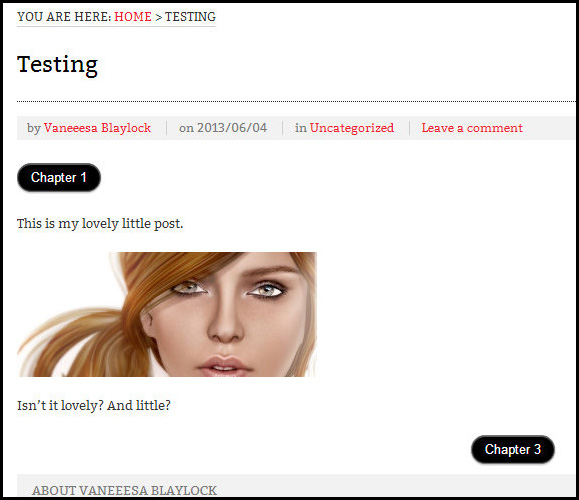
And voila! As you see below, your story (or anything else) has buttons! 🙂


